The Isodose window provides controls that determine how isodose lines and surfaces are displayed. You can create preset isodose legend (.idos) files in the Custom Isodoses dialog, and access those files from the Isodose menu or the Isodose button at the upper left of the window.
To edit an individual isodose value click on the text in the column closest to the color boxes. An editable text field will appear. Enter the new value. The return key accepts the new value. The enter key accepts the new value and advances to the next isodose. The tab and up/down arrow keys advance to the next isodose without accepting the change. Click away from the text to abort editing. If you double-click anywhere else the window the Custom Isodoses dialog will open.
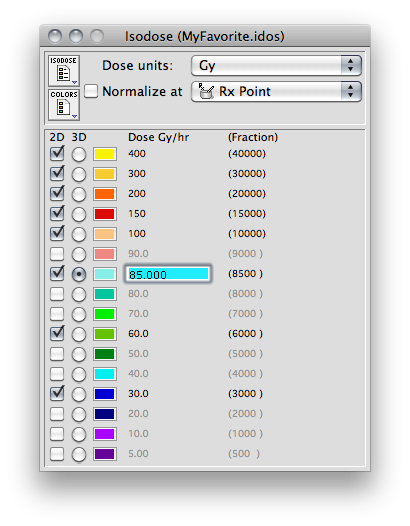
The Isodose window as it might appear when plotting absolute dose. The legend file 'MyFavorite.idos' has been opened from the Isodose menu or button (or set as the startup preference).
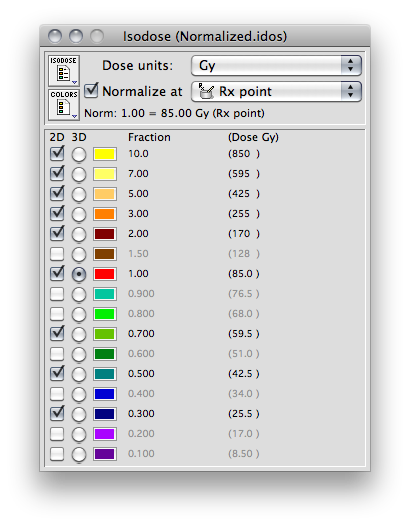
The Isodose window as it might appear when plotting isodose lines that have been normalized to the dose delivered to a selected point. The Normalize at button is checked, a normalization point has been selected, and the legend file 'Normalized.idos' has been opened from the Isodose menu or button.