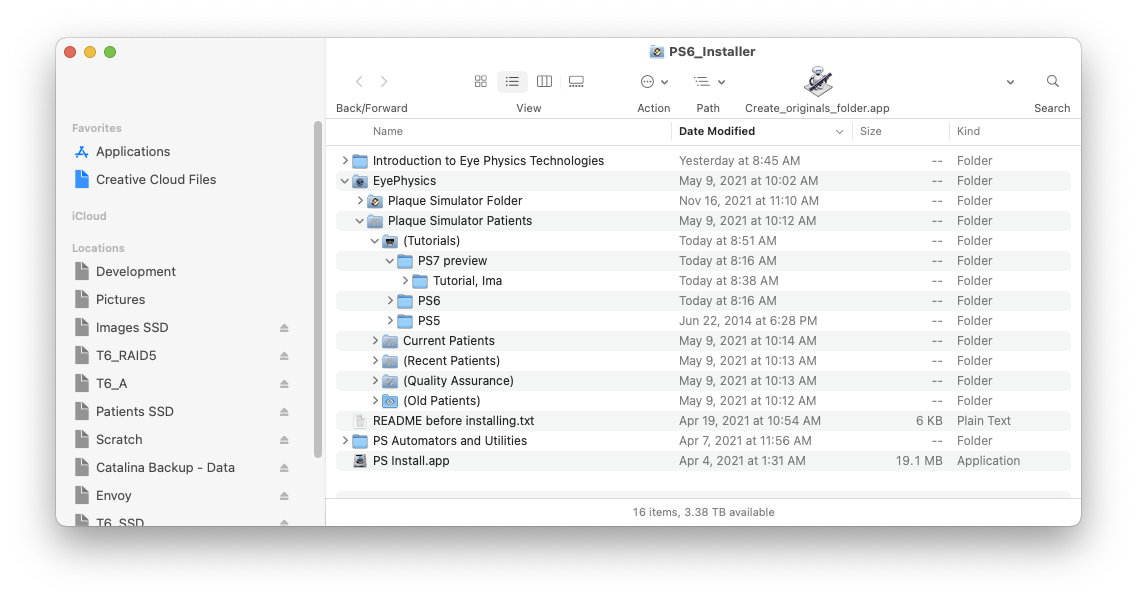
An alternative method of preparing a 3D image set that does not require installing DCMTK is to use OsiriX to export the DICOM image data as a series of 16-bit signed .raw format files and associated DICOM meta-data as a single .xml file. A demonstration tutorial named Tutorial, Ima can be found in PS6_Installer/EyePhysics/Plaque Simulator Patients/(Tutorials)/PS7 preview .
1. Use OsiriX to export DICOM to a series of .raw files.
In Osirix open a 2D viewer window for the desired image series.
From Osirix's File/Export menu select export as Raw... .
Navigate to the folder in which you currently export your planar reconstructions (e.g. OsiriX MPR ), click the New Folder button in the Save window and create a new folder named RAW
IMPORTANT NOTE: In this tutorial we refer to the name of a folder containg .raw files as RAW to distinguish references to the folder from file references, but the folder name is case insensitive and so could also be named Raw as illustrated below).
Set the Save As: file name also to Raw and then click the Save button to save the files in the newly created RAW folder.
Osirix will export all of the images in the series using the filename Raw with a sequential numeric tag. In this example, 72 images were exported to the RAW folder with names ranging from Raw.0 through Raw.71.
2. Export the DICOM meta-data to an .xml file.
In Osirix open the meta-data window (e.g. there is a meta-data button on the right of the 2D viewer toolbar to do this.
From Osirix's File/Export menu select export as XML file(s)...
Save the .xml file in the same newly created RAW folder where you previously saved the Raw.nn .raw data files.
3. Trim the .xml file.
The .xml meta-data export from Osirix will contain DICOM meta-data from all of the images. We only need meta-data from a single representative image to calibrate the .raw file series. We will use the BBEdit text editor to trim the .xml file.
Open the exported .xml file (e.g. Tutorial, Ima.xml in a text editor such as BBEdit and do a Find search for the tag NativeDicomModel in the file.
The first instance of NativeDicomModel should occur in the 2nd line of the .xml file
Click the Next button and advance to the second instance of NativeDicomModel . This will be the closing tag of the NativeDicomModel .xml element of the first image (e.g. Raw.0 ).
Begin a text selection immediately after the closing tag of the first image...
and extend the selection to the end of the file.
Delete the selected text. The .xml file will now contain ony the meta-data that corresponds to the first raw file (e.g. Raw.0 ).
In BBEdit do a File/Save to update the .xml file. In the MacOS Finder you should see the file size change from many MB to about 10 KB.
4. Export the planar reconstructions as .jpg files.
In order to maintain full backward compatibility with PS6, this would a good time to also export from Osirix the .jpg multiplanar reconstructions named axial, sagittal, equator, nerve, n-axial, t-coronal and t-meridian into the same newly created RAW folder.
After creating and exporting the multiplanar reconstructions as .jpg files, drag the entire RAW folder to the patient folder and then drag all of the the multiplanar reconstructions out of the RAW folder and into the patient folder.
When you initialize a new patient and drag the patient folder onto PS6's image window, PS 6.8.6 and later will also look for a folder named RAW (or Raw ) and search it for .raw and .xml files. The RAW folder should contain a sequence of .raw image files named Raw.nn and only one .xml file that has been trimmed to include the meta-data of the file Raw.0 .
